こんにちは!
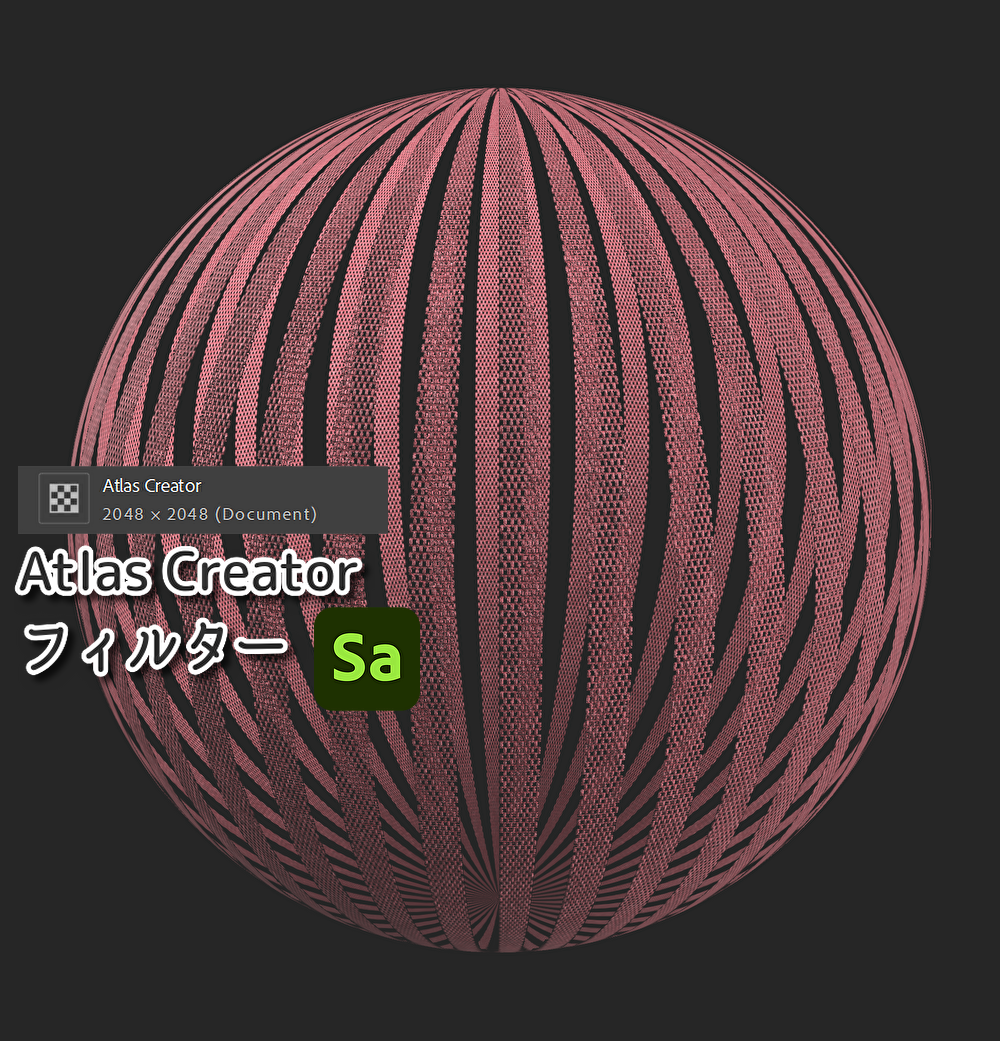
今回は、”Atlas Creator ~アトラス クリエーター~”フィルターです。

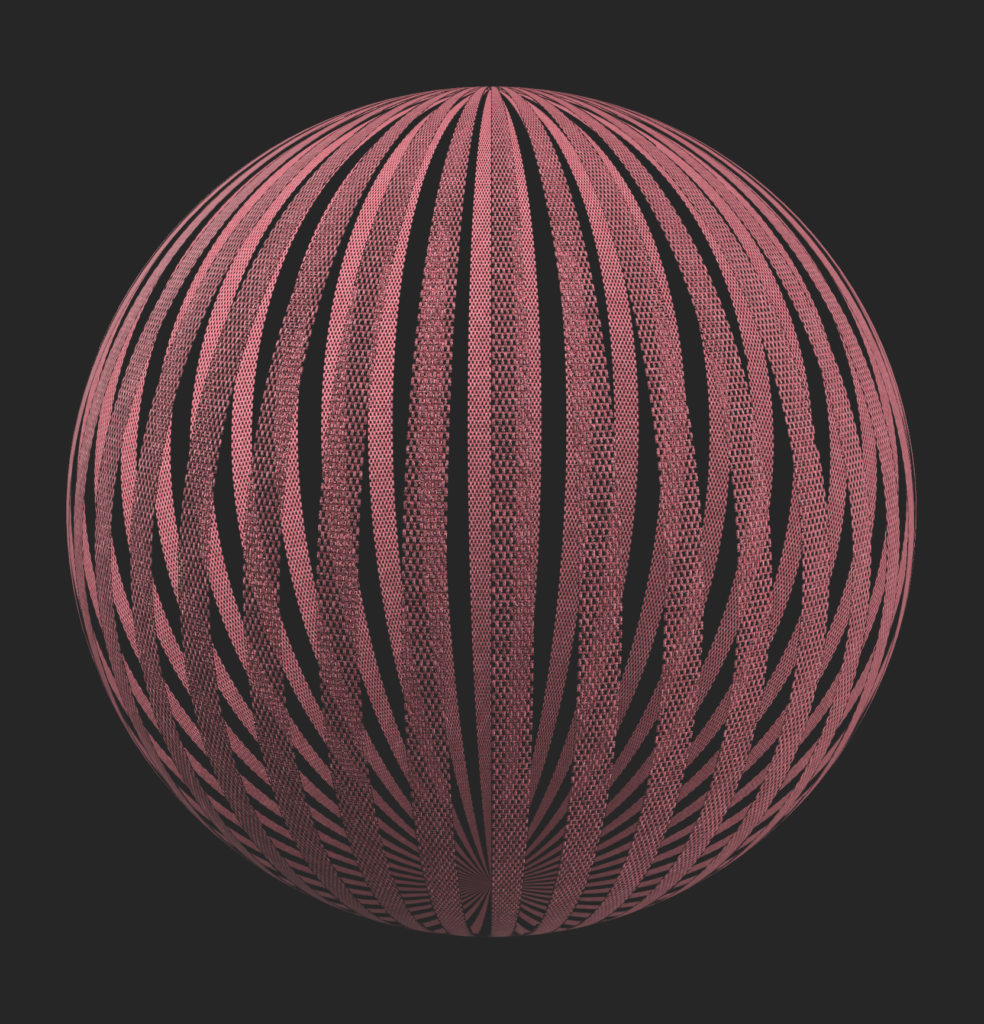


このフィルターは、マテリアルの一部をくりぬきます
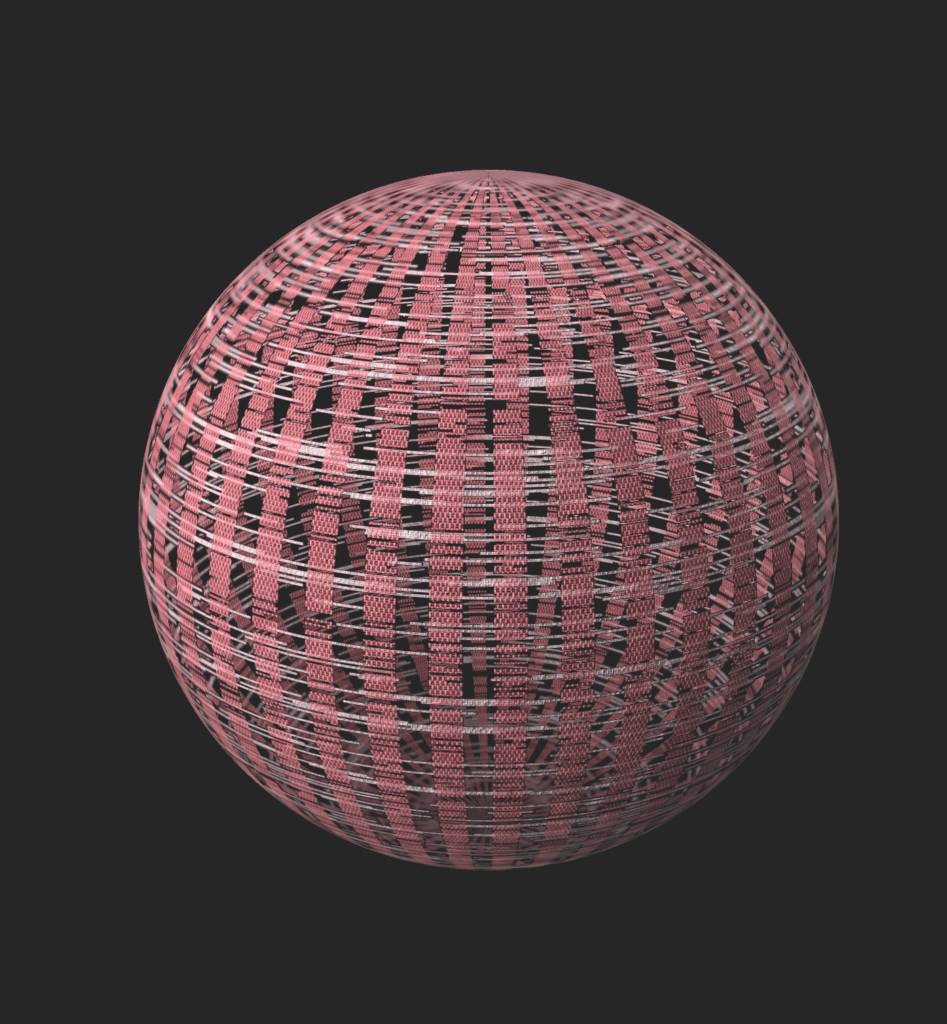
今回使用したマテリアルはSeersuckerです👇

フィルターを使用するとマテリアルの白の部分が透明化されたことが上記の画像から分かります
基本パラメーター
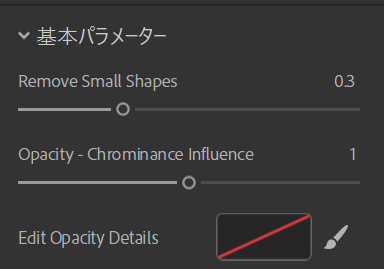
‣Remove Small Shapes :
小さい形を取り除く
‣Opacity-Chrominance Influence :
透明度‐彩度の影響
‣Edit Opacity Details : 透明度の詳細の編集
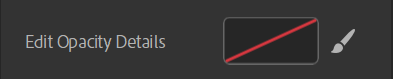
Edid Opacity Detailsの右横にある黒いボックスを選択して設定すると
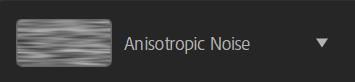
今回はAnisotropic Noiseというテクスチャを使用します
左記画像のように消えていた白の部分がテクスチャの線に沿って表示されます
皆さんもいろいろなテクスチャを試してみてください
フィルターのまとめは以上です。
少しでもお役に立てれば嬉しいです。
最後までご覧いただきありがとうございました!